Have you seen the fantastic new release of stamps from Darkroom Door? There is so much to love about this release (isn’t there always?) so I was keen to get busy when these newest ones arrived at my door. You can check them out here.
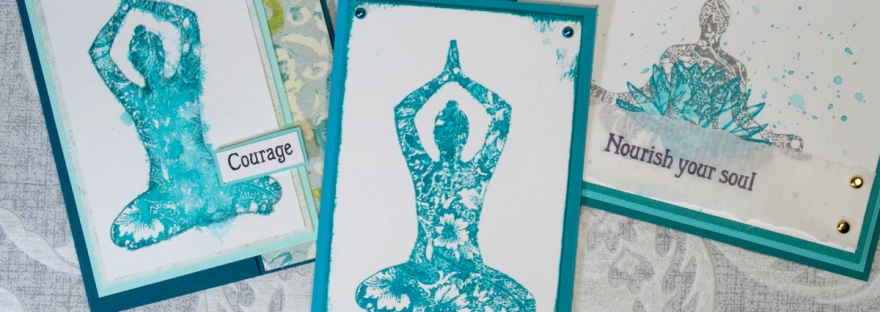
First up, I’ll be sharing some projects using the Darkroom Door Meditation rubber stamp set. This set has some lovely calming imagery and is perfect for some mindful stamping. I like to pop on some quiet music, set out a few colours of inks & plenty of paper to stamp on and just let my creative muse play.
All of these cards are created with either Distress Oxide or Distress inks to keep it nice & simple and I’ve kept the construction nice & easy. Ask me in the comments if you aren’t sure how the layers may have come together.
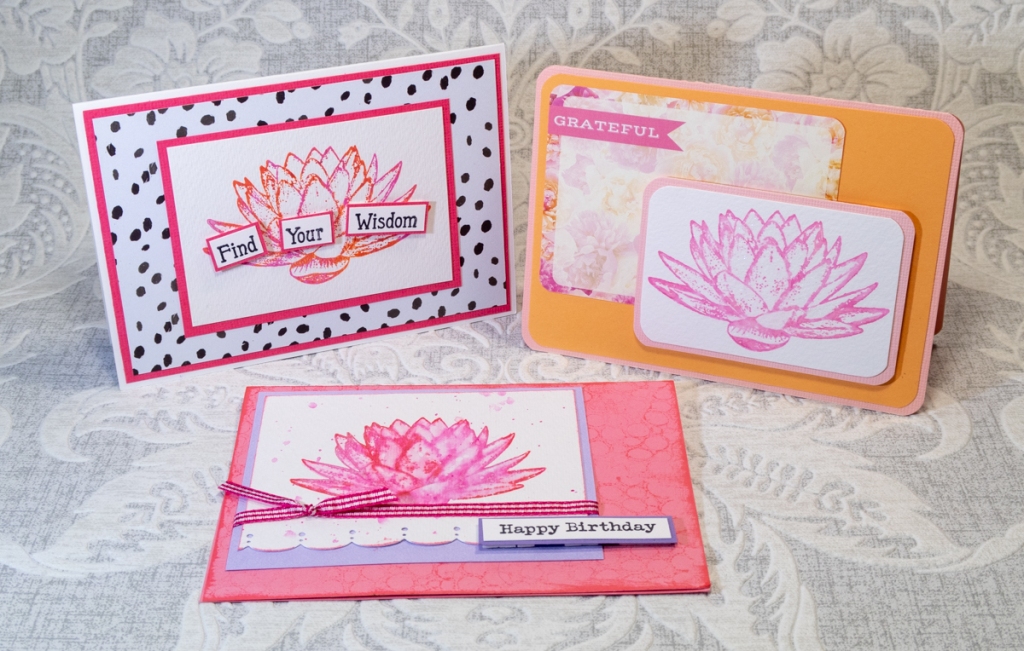
The larger of the two lotus images looks lovely stamped simply with Distress Oxide ink.
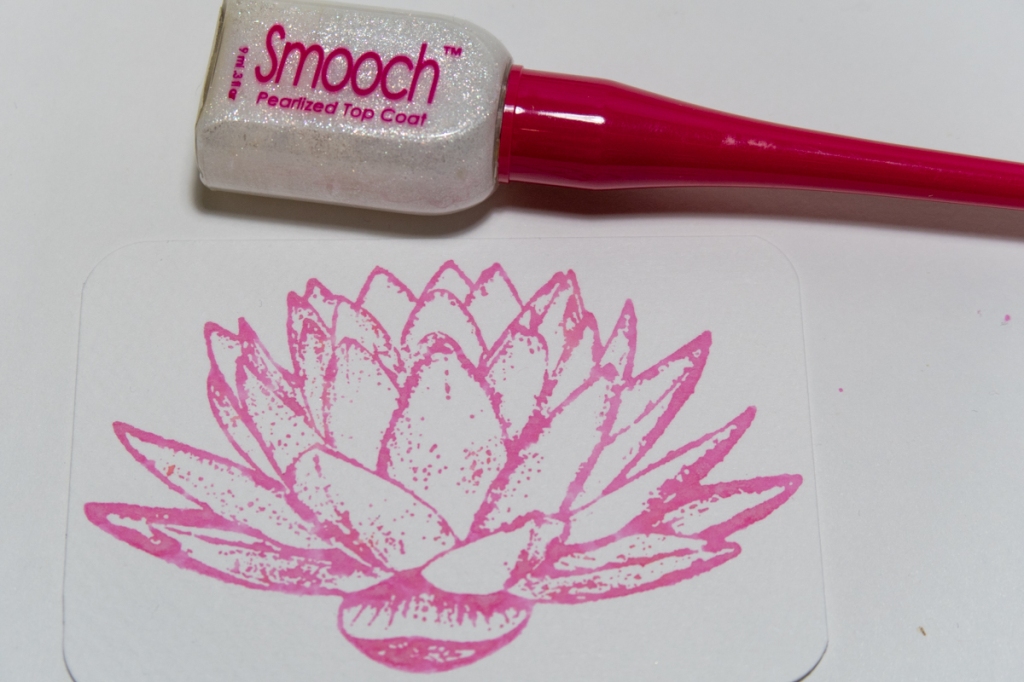
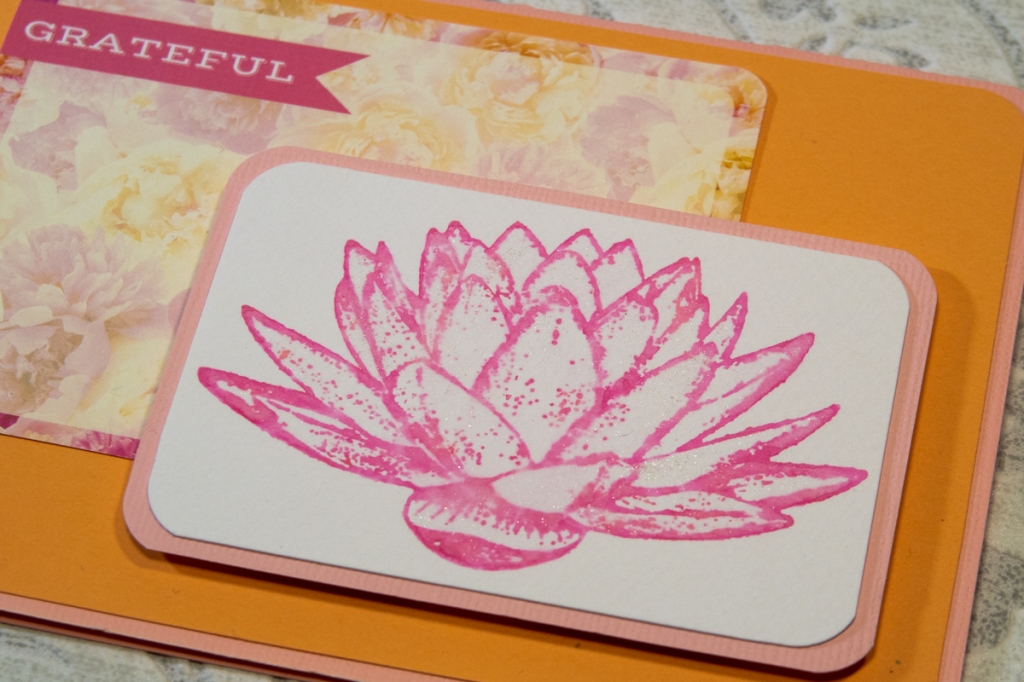
I’ve used Picked Raspberry and for a bit of shine, painted over the image with some Smooch Ink
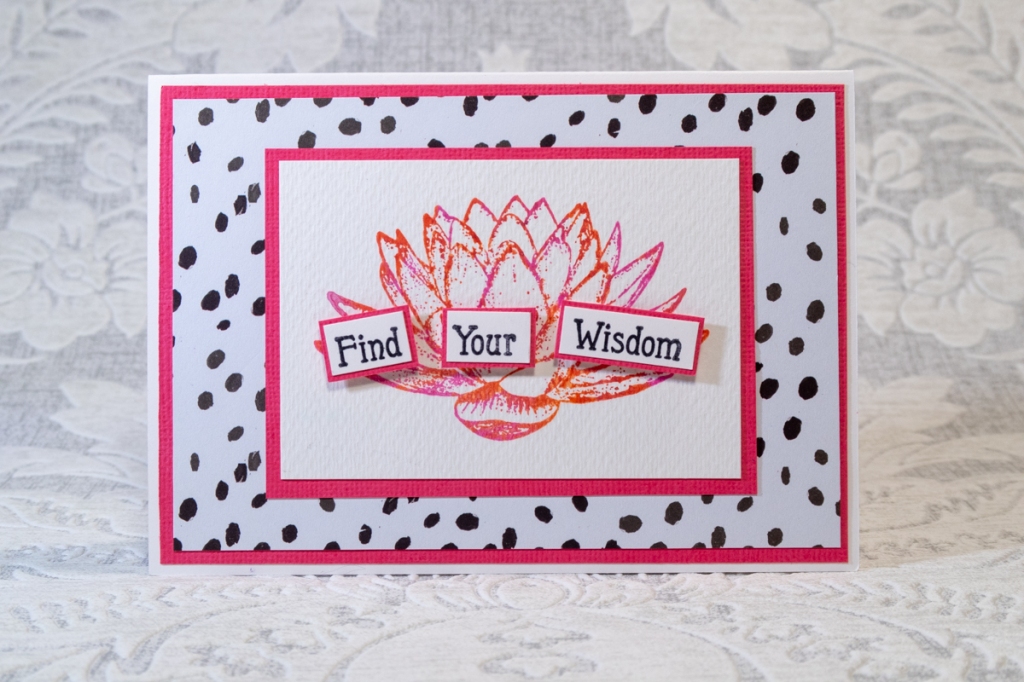
Have you tried inking a stamp with more than one colour? Start with the lightest colour and then touch parts of the stamp with the darker colour and stamp your image. I love how this effect turns out!

Why not try combining Distress Oxide inks with Distress Inks in a similar colour?

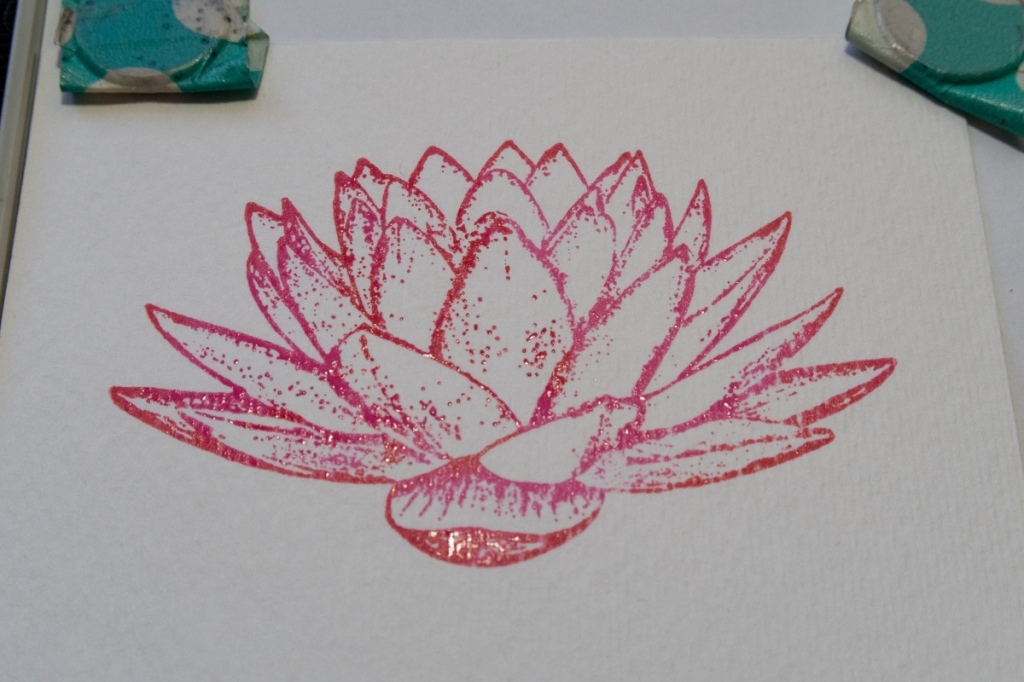
For this next card, I stamped my image onto smooth watercolour card using two colours of Distress Oxide ink and heat set the ink. Then I carefully moved the colour around using a wet paint brush. The beauty of Distress Oxide inks mean that the pigment ink part stays in place while the dye ink part moves to give a lovely shading to the image.
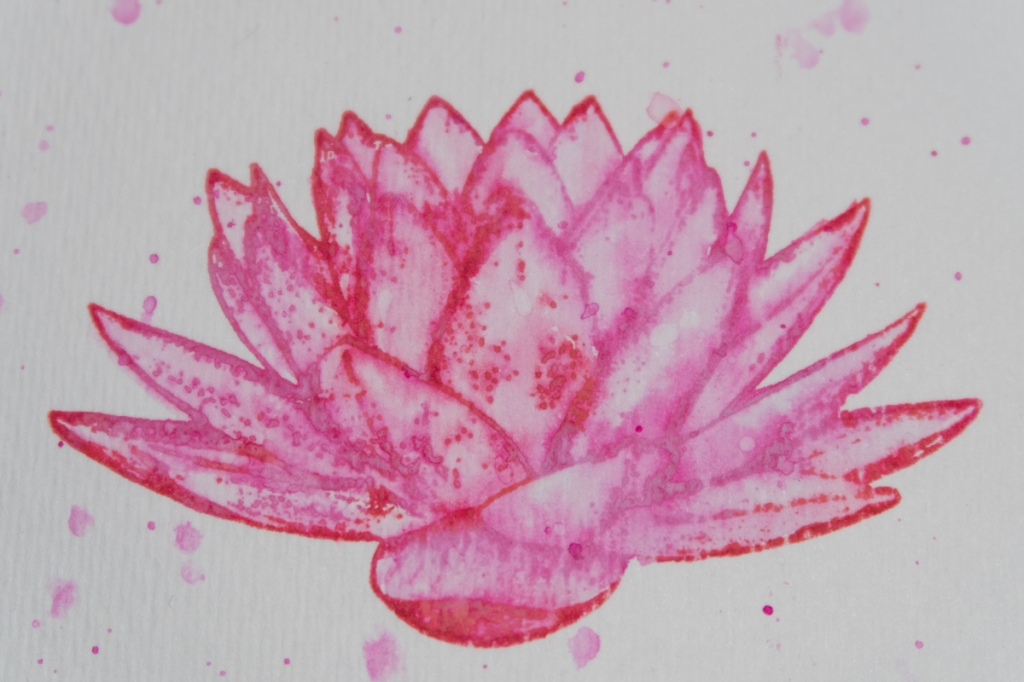
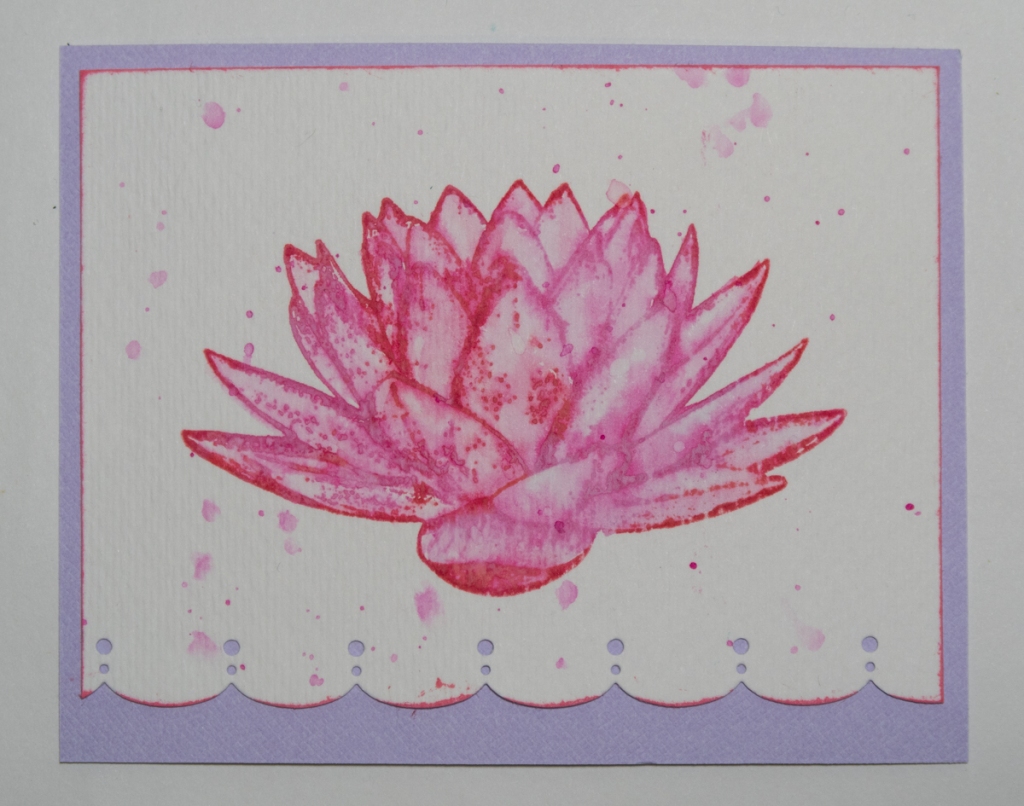
A little spatter always looks good as well!
Now to change up my colour palette a little….
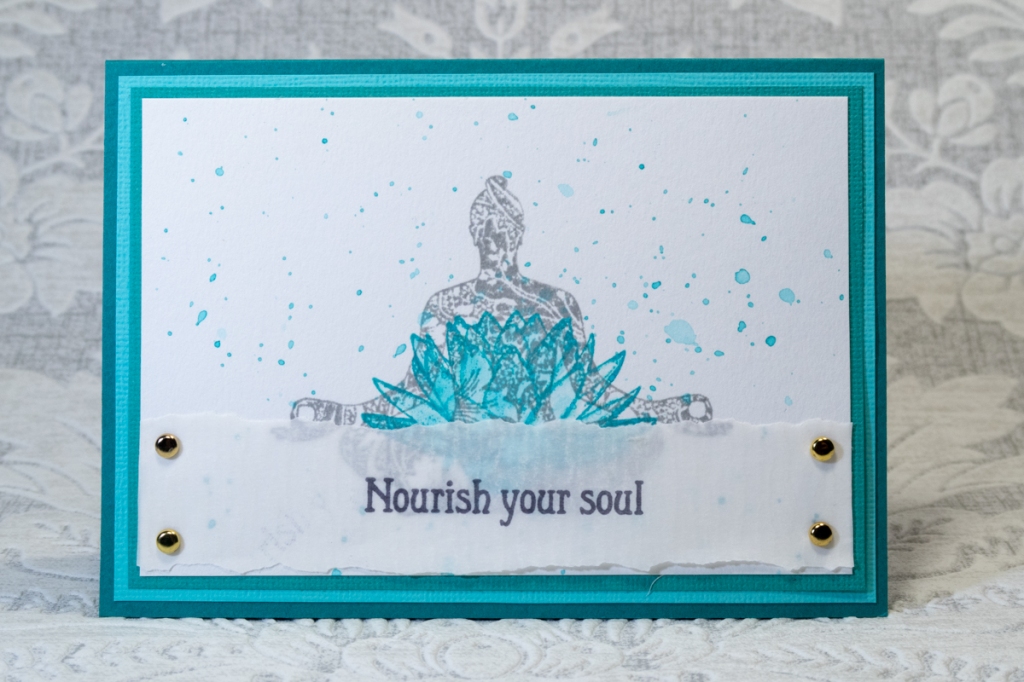
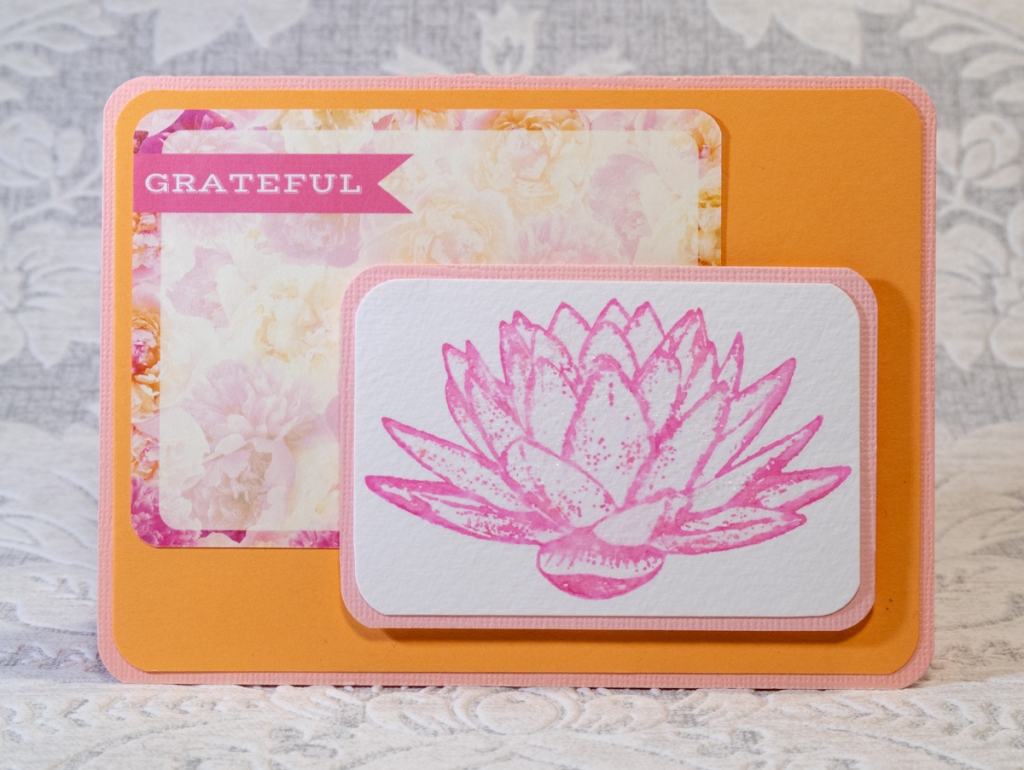
This card combines the step of stamping and colouring with Distress Oxide ink described above with extra layers of imagery. The first is stamped beneath the lotus flower and the second is laid over the top with wording stamped onto translucent vellum. I love the look this gives and it has so many uses!
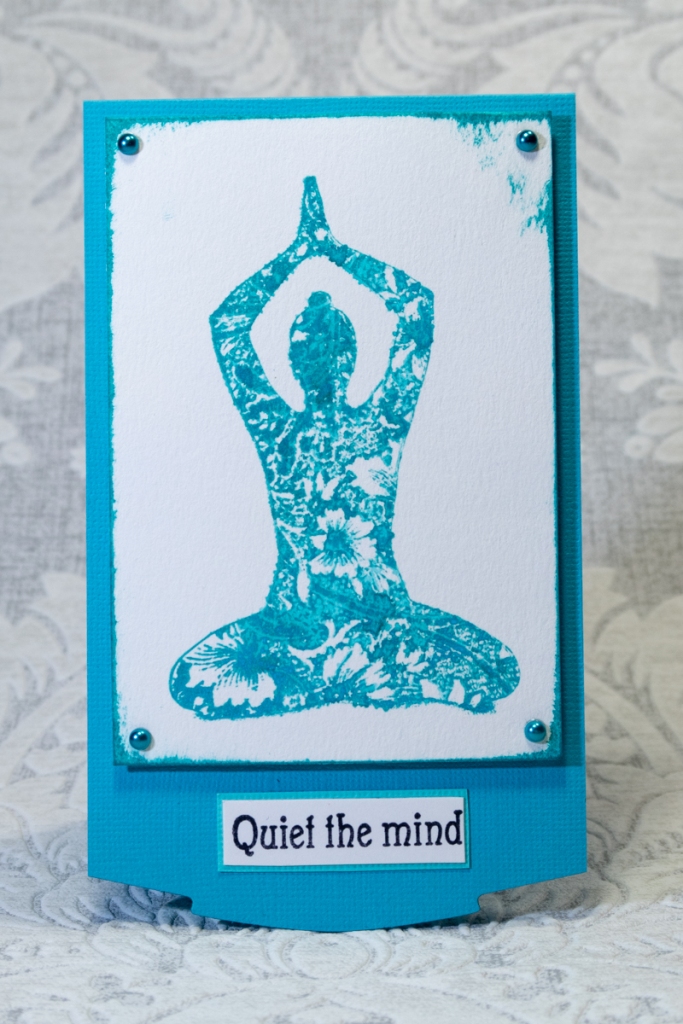
Now it is time to quiet the mind and get a little tricky with inks. For this image I inked the stamp using Distress Ink in peacock feathers and spritzed it lightly before stamping. It resulted in a lovely soft watercolour effect. Once I had dried the image – I overstamped it with a fresh coat of Distress Ink to sharpen up the lines. A stamp press makes this step so easy!

For my final card, I stepped up the technique above a little using a basic gatefolded card base. Using a stamp press, I stamped the image using peacock feathers Distress Oxide Ink and then spritzed the stamped image a touch to get the ink to run and oxidise.
Once I had dried the image – I inked just the edges of the stamp using Archival Distress Ink in Hickory Smoke. This gave the outline some sharpness but didn’t overtake it like stamping in black would have.
I hope you have enjoyed learning how these cards came together. Make sure you tag me online if you create something similar – I’d love to see!
As always, a huge thanks to Rachel and Darkroom Door for feeding my love of their product through their gift of stamps.
